July 7, 202610 min read
What to Do With All Your Wedding Photos After the Big Day
Not sure what to do with wedding photos after the wedding? Here is the calm, six-step plan to gather, back up, curate, print, and share every photo you love.
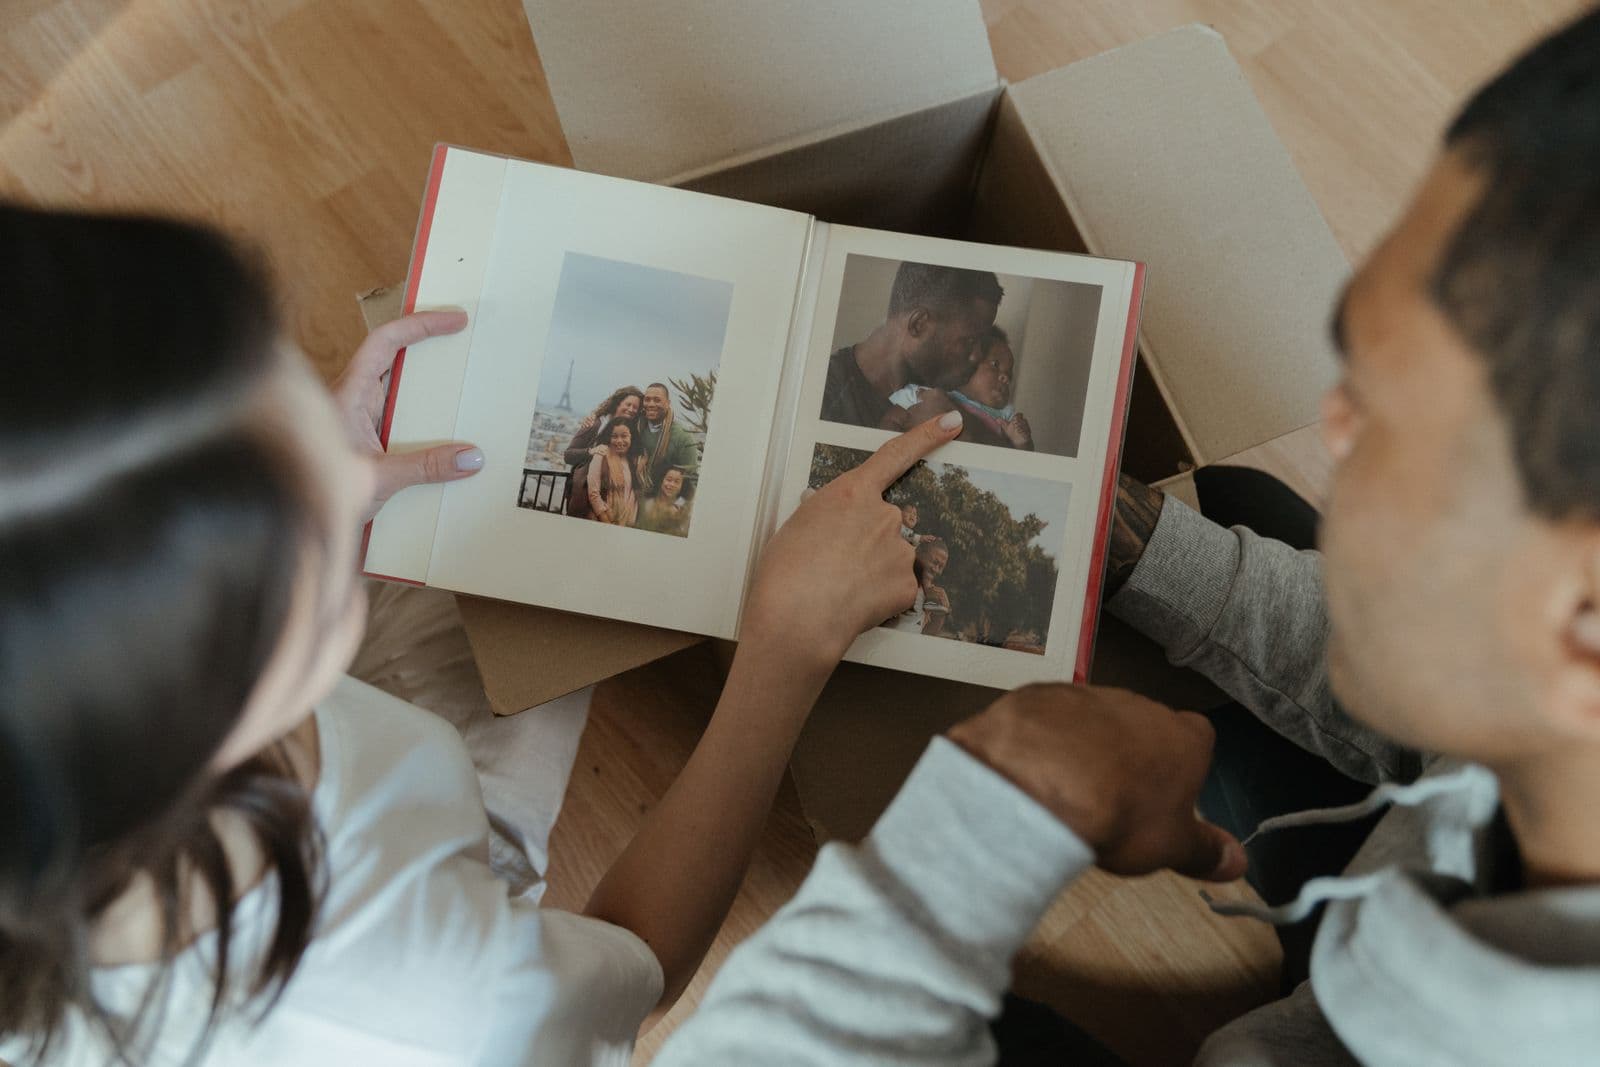
The big day is over. The dress is at the cleaners, the last of the cake is in the freezer, and somewhere in the quiet after all that noise you realise you have photos absolutely everywhere. The photographer's gallery is on its way. Your own camera roll is a jumble of getting-ready selfies and dance floor blur. And scattered across the phones of everyone who came are the pictures you have not even seen yet: the toast that made your dad cry, the flower girl asleep under a table, the two of you laughing at something nobody else remembers. It is a lot, and it is easy to feel like you should do something with all of it while having no idea where to begin.
That feeling is normal, and the fix is simpler than it looks. You do not need a whole free weekend or any special skills. You need a short, sane order of operations so those photos become something you treasure instead of a mess you keep meaning to sort and never do. Here is exactly what to do with all your wedding photos after the day is over, step by step, from gathering everything in one place to printing the best of it and keeping it safe for the rest of your life.
Step 1: Gather Everything in One Place
Before you print anything, curate anything, or share anything, do the one thing that makes all the rest possible: get every photo into a single place. Right now your wedding exists in fragments. The professional shots are with your photographer. Your own photos and videos are on your phone. And the candids, the ones taken from angles no photographer could reach, are trapped on the phones of dozens of guests who will absolutely mean to send them to you and mostly will not.
Chasing those photos one text at a time is a losing game, so do not try. The far easier route is to point everyone at one gallery and let the pictures come to you. If you set up a shared album for the day, this is where it pays off, because guests can drop their photos straight in without downloading anything or making an account. If you did not, it is not too late to make one now and send the link round while the wedding is still fresh in everyone's mind. Our guide to how to create a shared wedding photo album walks through the whole thing. The goal of this step is simple: one place that holds the professional photos, your own, and your guests' uploads, all together.
Step 2: Download and Back Up
Once everything is gathered, get it off other people's servers and onto storage you control. Download the full-resolution originals of every photo, not the small shared-quality versions that look fine on a phone and fall apart in a print. This is the moment to be a little greedy about quality, because you cannot go back and re-download an original after a link has expired or an app has quietly shrunk it.
Then back it up properly, using the rule professional photographers swear by: 3-2-1. That means three copies of your photos, on two different types of storage, with one copy kept off-site. In practice, keep the master folder on your laptop, copy it onto an external drive that lives in a drawer, and upload the same folder to the cloud. If any one of those fails, you still have two. It takes an hour once and then you never have to worry again. For the full walkthrough of getting the originals out of every source and downloading them all at once, see how to download all your wedding guest photos, which covers the mechanics this article deliberately keeps brief.

Step 3: Curate Your Favourites
You now have hundreds, maybe thousands, of photos safely in one place. That is wonderful and slightly overwhelming, which is why the trick to curating is to do it in passes rather than trying to judge every single frame at once. Do not sit down expecting to sort the whole set in one go. Move through it in quick layers and let the best photos rise to the top on their own.
- First pass, the obvious keepers. Go through everything once, fast, and flag only the photos that make you stop. The ones where you gasp a little, or laugh, or feel the day again. Do not overthink it and do not delete anything yet. You are just marking the pictures that clearly matter.
- Second pass, the best of the best. Now go back through your keepers and narrow to the strongest 100 to 200. This is the set you will actually print, frame, and share, so be a little ruthless. Two nearly identical shots of the first dance do not both need to make the cut; pick the one where the light or the expression is that bit better.
- Keep everything else archived, not deleted. The photos that did not make the shortlist stay exactly where they are, safe in your backed-up master folder. Storage is cheap and a photo you skip today is one you get to rediscover in ten years. Curating is about choosing what to feature, never about throwing the rest away.
Step 4: Make Something Real
Photos that live only on a screen get scrolled past. Photos you can hold, hang, or hand to someone get loved for decades. Now that you have your favourites picked out, turn some of them into things that exist in the actual world. You do not have to do all of these, but do at least one, and do it soon while the momentum is there:
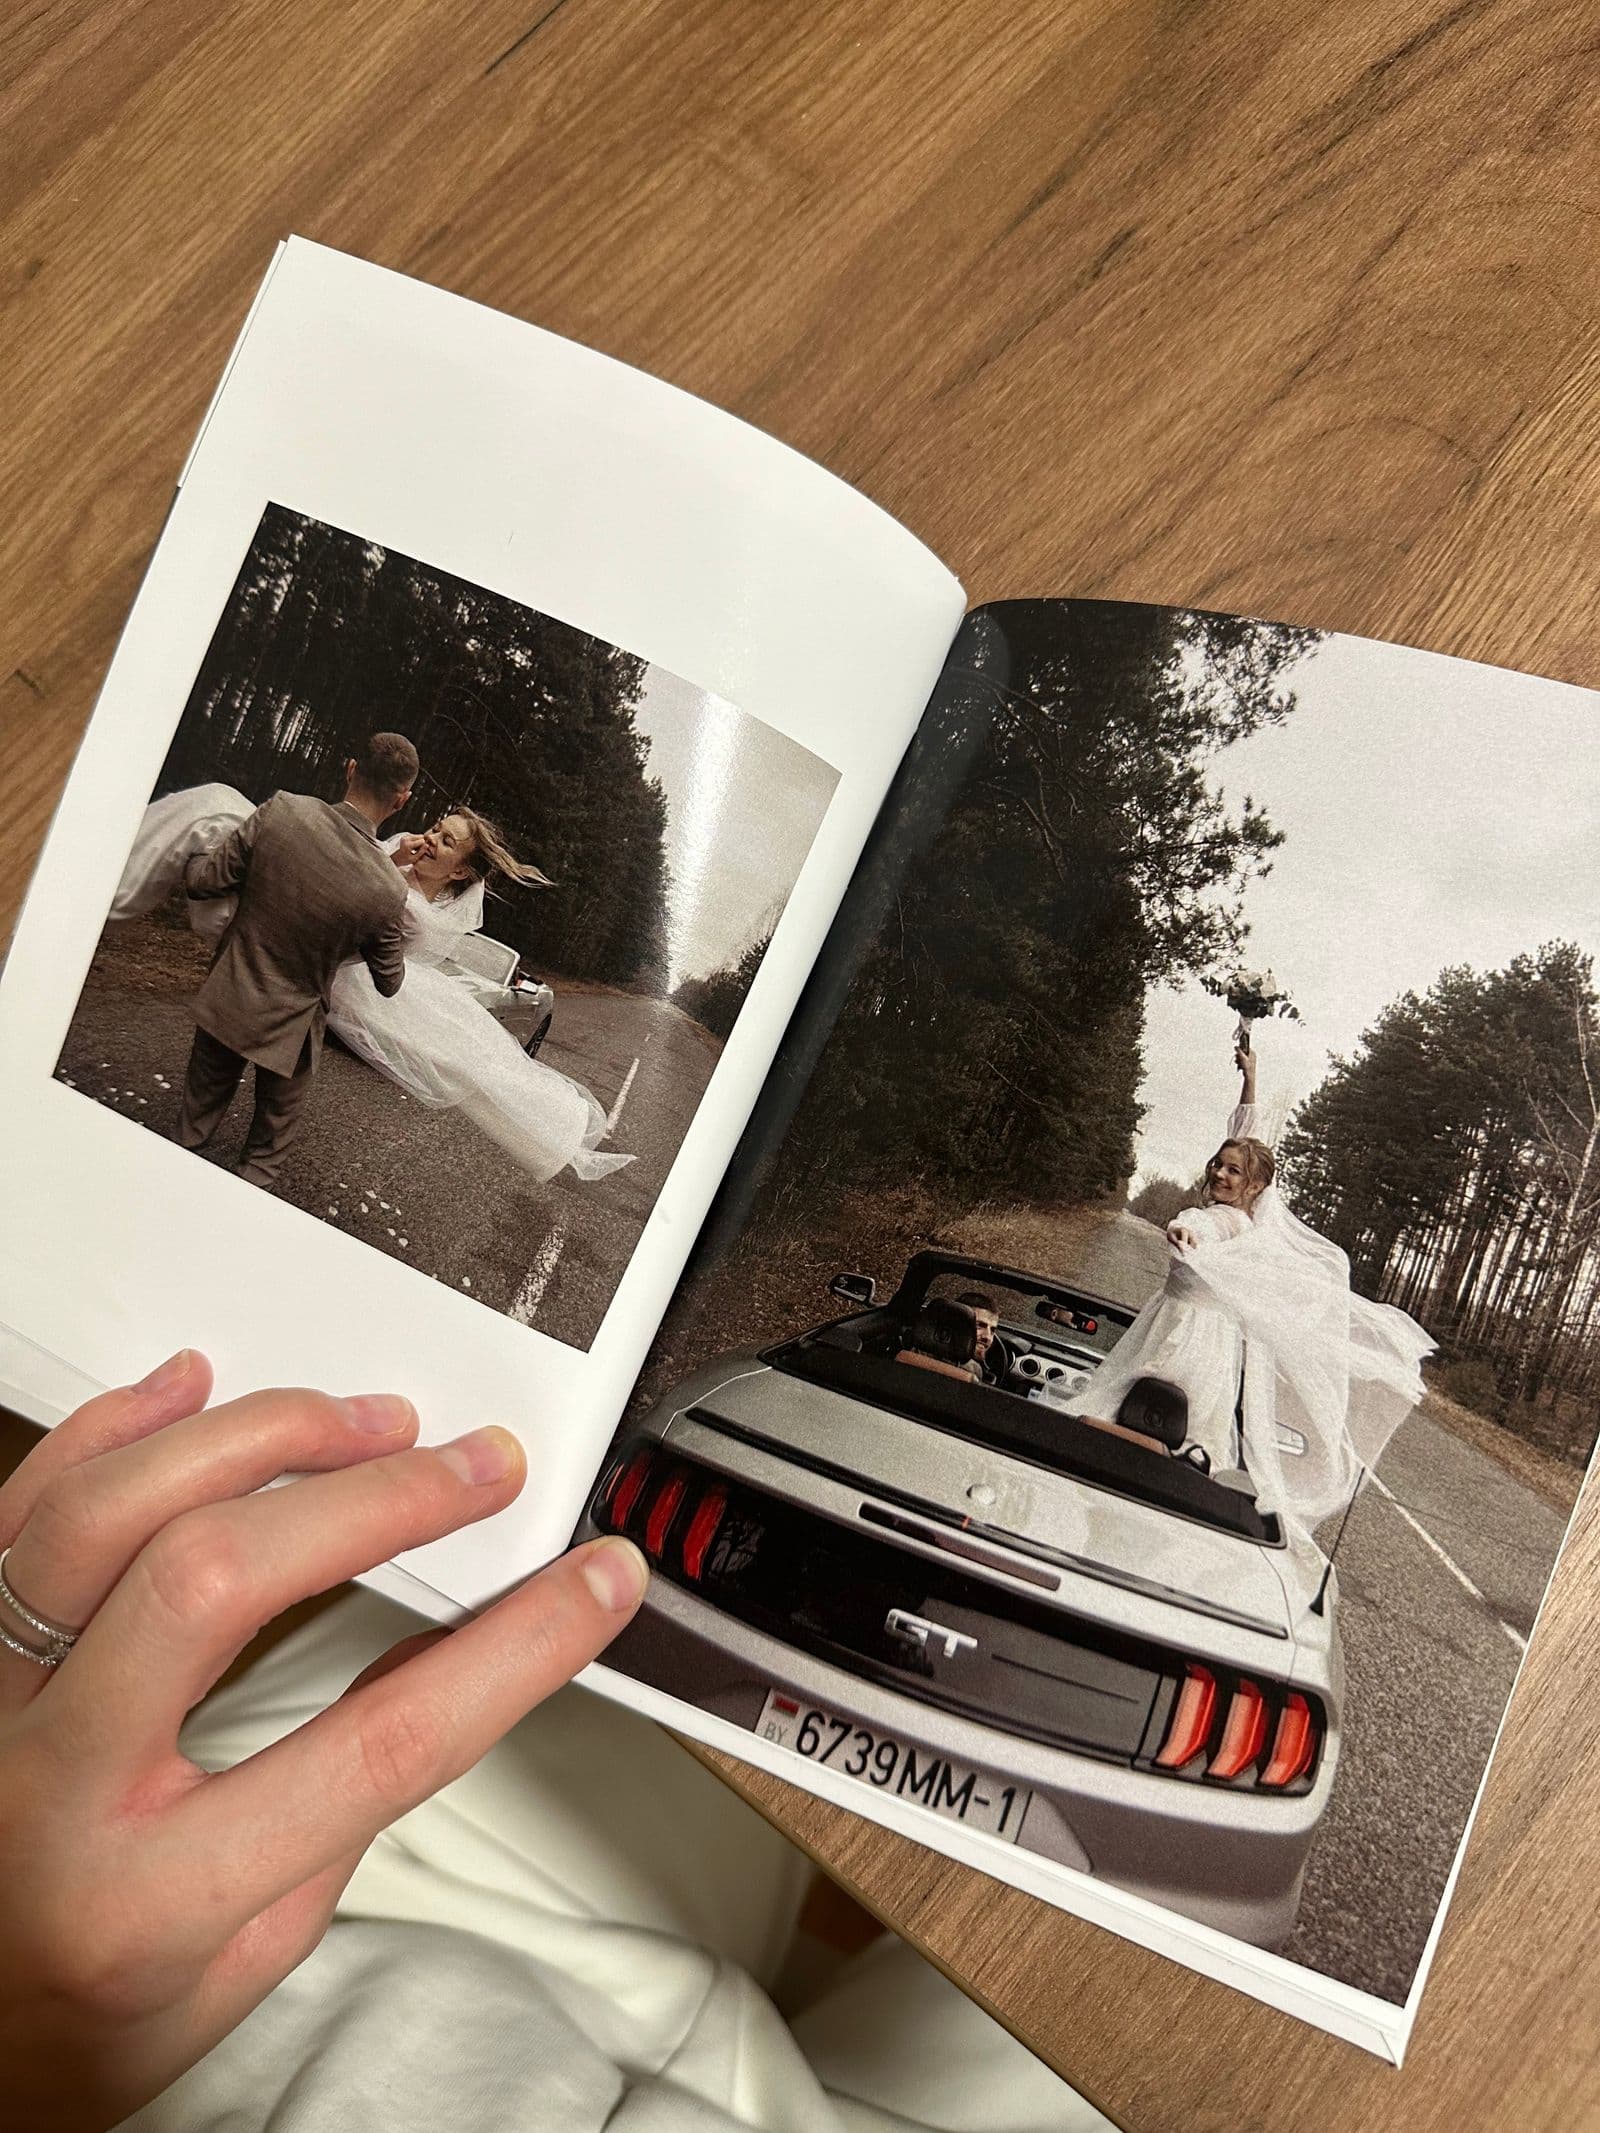
- A photo book that mixes pro and guest shots. This is the single best thing you can make. The professional photos give you the polish and the composition; the guest photos give you the belly laughs, the back-table candids, and the two in the morning dance floor. Woven together they tell the whole story of the day, not just the parts one camera happened to see.
- Framed prints for the home. Choose a handful of your very favourites, print them large, and put them on a wall. There is a particular joy in walking past your wedding every single day rather than only seeing it when you go looking on your phone.
- A thank-you card with a favourite photo. Pick one gorgeous shot, put it on a card, and send it to the people who came. It doubles as your thank-you note and gives everyone a little keepsake of the day they helped you celebrate.
- A highlight video from guest clips. Your guests filmed things nobody else did: the speeches, the surprise on your face, the dance floor at full tilt. Stitch the best clips into a short film you can watch on every anniversary.
- A shared gallery link sent back to everyone. The easiest gift of all. Send the full gallery back to every guest so they can relive the day and grab any photo they are in, which leads straight into the next step.
Step 5: Share the Photos Back With Guests
Here is a step couples forget, and it is one of the loveliest. Your guests gave you their photos; give them the whole collection back. Send everyone who came a link to the full gallery so they can browse every picture from the day, spot themselves, and download whatever they want in full resolution. It costs you nothing and it lands as a genuinely warm thank-you, a way of saying we want you to keep a piece of this too.
There is a practical bonus as well. When guests open the gallery and see how good the shared collection is, more of them add the photos still sitting on their own phones, which means your set keeps growing after the wedding rather than freezing on the day. For the cleanest way to send it round without wrestling with file sizes or a dozen separate messages, see the best way to share wedding photos with guests.
Step 6: Preserve Them for the Long Run
The last step is the one that matters longest and gets skipped the most. Wedding photos are not really a this-year project; they are a rest-of-your-life one, and how you store them now decides whether they are still here for an anniversary you cannot yet imagine. Always keep the untouched full-resolution originals as your source of truth, and never let your only copy live inside a single app or a free album that expires after a few months. Apps get shut down, phones get upgraded, links go dead, and the photos vanish with them, usually without any warning at all.
So keep your own backed-up copies, choose a gallery that does not expire as your everyday home for the collection, and put a small reminder in your calendar to revisit the photos once a year. That yearly look-back is not admin; it is the whole point. One day you will scroll through these pictures and half the people in them will have changed, some will be gone, and children who were not born yet will ask to see the day their parents got married. Taking a single careful hour now is how you make sure those photos are still there to answer them. That is what all of this has really been for.
A Simple Post-Wedding Timeline
| When | What to do |
|---|---|
| Within a week | Gather every photo into one place, download the full-resolution originals, and make your 3-2-1 backups so nothing is at risk |
| First month | Curate your favourites in passes and order a photo book that mixes the professional and guest shots while the day is still vivid |
| Ongoing | Share the full gallery back with guests, revisit the photos once a year, and keep every copy backed up so the collection stays safe for good |
None of this is difficult, and none of it needs to happen all at once. Gather, back up, curate, make something real, share it back, and preserve it. Follow those six steps in that order and the mountain of photos scattered across galleries, camera rolls, and guest phones turns into the single best record of one of the best days of your life. Do it in the first few weeks, while the momentum and the memory are both fresh, and you will never have to wonder what became of your wedding photos. You will know exactly where they are, that they are safe, and that they are ready any time you want to feel the day all over again.
Frequently asked questions
What should I do with my wedding photos after the wedding?
Work through six simple steps in order: gather every photo into one place, download and back up the full-resolution originals, curate your favourites, make something real like a photo book or prints, share the full gallery back with guests, and preserve the collection for the long run. Doing them in that sequence stops the process from feeling overwhelming and makes sure nothing gets lost along the way.
How do I organise wedding photos?
Start by pulling everything from every source into one clearly named master folder, then leave those originals untouched and make a separate favourites copy for editing and printing. Curate in passes rather than all at once: a quick first pass for obvious keepers, a second pass to narrow to your best 100 to 200, and archive the rest instead of deleting them.
How do I back up wedding photos?
Follow the 3-2-1 rule: keep three copies of your photos, on two different types of storage, with one copy off-site. In practice that means your laptop, an external hard drive in a drawer, and a cloud copy. If any single one fails, you still have two intact copies to rebuild from, so you are never one accident away from losing the day.
What is the best way to preserve wedding photos?
Always keep the untouched full-resolution originals as your source of truth, and never rely on a single app or a free album that expires. Store your own backed-up copies, use a gallery that does not expire as the everyday home for the collection, and revisit the photos once a year so you always know they are safe and easy to find.
Should I make a wedding photo book?
Yes, a photo book is the single best thing you can make from your wedding photos. The magic is mixing the professional shots, which give you the polish, with the guest photos, which capture the laughter and the candid moments a single camera could never catch. Order it in the first month while the day is still vivid and you are far more likely to actually finish it.
Get every photo in one place first
Gather your guests' photos and your own into one gallery you keep forever, then download the lot with one click. Free to start.