June 30, 20268 min read
How to Set Up Wedding Photo Sharing in 5 Minutes
Set up wedding photo sharing in 5 minutes flat. Follow this minute-by-minute walkthrough to get your QR code, link, and live slideshow ready to collect photos.
You do not need hours, a web designer, or any real tech skills to set up wedding photo sharing. The whole thing takes about five minutes, and most of that is just typing your event name and waiting for a page to load. If you can order something online, you can do this.
Below is the exact, minute-by-minute setup. Follow it in order and you will finish with a working QR code, a shareable link, and a live slideshow ready to catch every photo your guests take. No fiddly settings, no guesswork, and nothing your guests have to download.
What You Need Before You Start
There is very little to gather, and you almost certainly have all of it already. Have these three things within reach before you begin and the five minutes will fly by:
- A photo-sharing service. This is the page guests upload to and the gallery your photos land in. A purpose-built option like wedding guest photo sharing gives you the upload page, the QR code, and the gallery in one place, so there is nothing to build yourself.
- Your event name and date. Just the basics, such as the couple's names and the wedding date. You can type this in seconds, and you can always edit it later if something changes.
- A way to print one or two signs. A home printer is perfectly fine for a few signs. If you want something sturdier for a welcome table, a local print shop can run them off cheaply, but plain paper works in a pinch.
The 5-Minute Setup, Minute by Minute
Here is the whole process broken into five quick minutes. Each one is a single, small task, so just work down the list and you will be done before your tea goes cold.
Minute 1: Create Your Event
Open your photo-sharing service and create a new event. With a dedicated tool, this is a single button and a quick sign-up, and it is free to start. The moment the event exists, the service generates your private gallery, your guest upload page, and the QR code that points to it. That one step does the heavy lifting that would otherwise take a developer an afternoon.
Minute 2: Name It and Set Your Welcome Message
Give the event a clear name, usually the couple's names and the date, so it is obvious to guests they are in the right place. Then add a short welcome message, the line guests see when they open the upload page. Something warm and simple works best, such as "Welcome to our wedding, please share the photos you take with us." This single line reassures guests they are uploading to the right couple.
Minute 3: Turn On the Live Slideshow
Flip on the live slideshow. This shows guest photos on a screen during the reception as they are uploaded, which delights everyone and quietly reminds people to keep sharing. If you would rather glance at images first, switch on the optional moderation delay, which holds each photo briefly before it appears. Turn it on now, and decide on the day whether to actually project it.
Minute 4: Download Your QR Code and Drop It Into a Sign
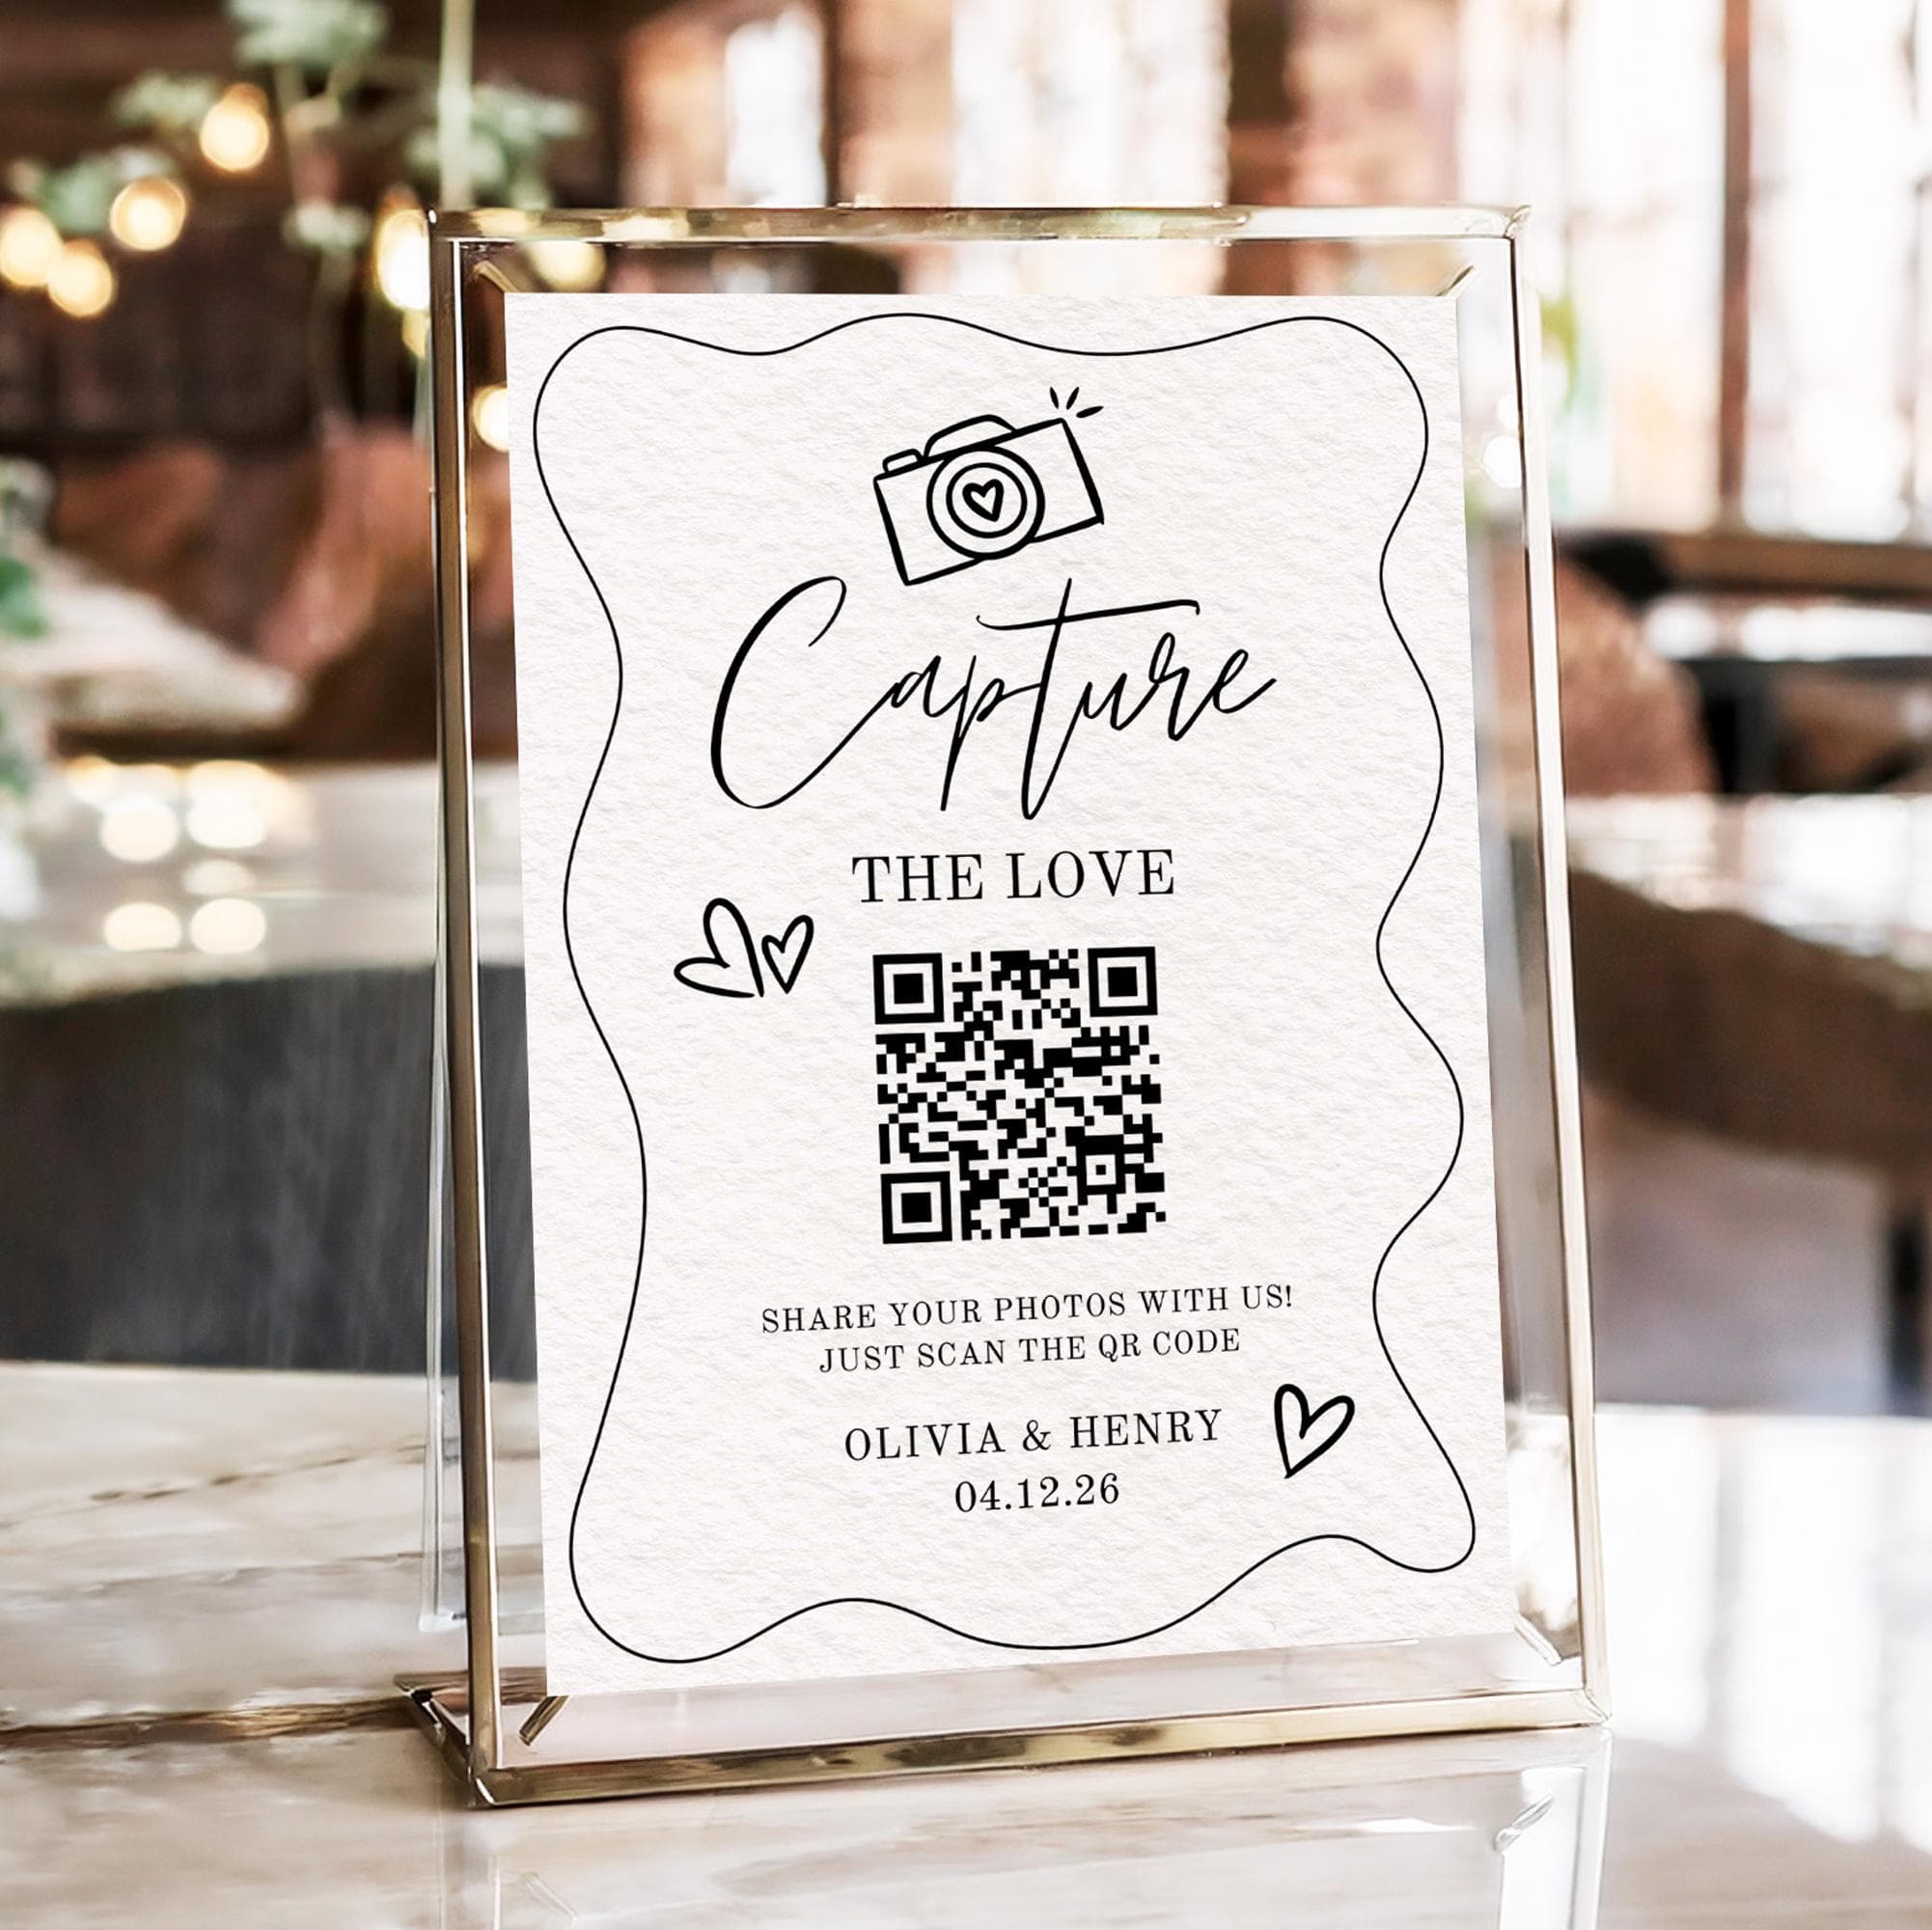
Download your QR code at the highest resolution offered, ideally an SVG or a large PNG, so it stays crisp when printed. Drop it onto a simple sign with one friendly line of instruction, and you have a scannable invitation to share. If you want the finer points on sizing, contrast, and placement, the guide on how to make a QR code for wedding photos covers them, but for now a clean code on a clear sign is all you need.
Minute 5: Send a Test Upload and Share the Link
Scan your own code, or open the link the service gives you, and upload one test photo from your phone. Confirm it lands in the gallery where you expect it. This thirty-second check is the difference between a setup that works and one that fails on the day. Once it works, save the link in your phone notes so you can share it instantly with anyone who cannot reach a sign.
Do It Now vs Do It On the Day
The setup itself takes five minutes, but those minutes do not all happen at once. Some tasks are best done now, while others belong to the week before or the morning of the wedding. Here is how the work spreads out so nothing piles up at the last minute:
| Task | When |
|---|---|
| Create the event | Now |
| Write the welcome message and turn on the slideshow | Now |
| Print your signs | Week before |
| Place signs on tables and the welcome area | Morning of |
| Announce it to guests | During the reception |
| Download all the photos | Next day |
What You Can Safely Skip
Plenty of things look like they matter and simply do not. Skipping these keeps your setup to five minutes instead of five hours, and not one of them affects whether guests can share their photos:
- Custom domains. The link your service gives you works perfectly. No guest will ever notice or care what the web address looks like.
- Fancy sign design. A clean code and one clear line beats an elaborate design every time. Pretty is nice, but legible is what gets scans.
- Per-guest accounts. Guests should never have to sign up or log in. A good service lets them upload straight from the browser with nothing to create.
- Editing photos before the day. There is nothing to curate in advance. The gallery fills up on the day itself, so leave it empty and ready.
- Choosing folders or categories. Every upload lands in one shared gallery automatically. You do not need to organise anything up front, and sorting is far easier after the day when you can see what you actually have.
If a setup step is not directly helping a guest scan, upload, or see their photo on screen, it can wait or be cut entirely. That single rule is what keeps the whole job to five minutes, and it is why couples who overthink the setup rarely end up with more photos than couples who keep it simple.
Make It Even Faster (and Foolproof)
A few small habits turn a quick setup into one that runs itself on the day. None of these add much time, and together they remove almost every way the plan could wobble:
- Prepare the sign template in advance. Build one sign with your code and instruction, then reuse it for every table. Design once, print many.
- Test on both an iPhone and an Android. The two cameras behave slightly differently, so a scan from each confirms every guest will get through.
- Delegate the slideshow to a helper. Hand the live slideshow to a friend or the venue so you never have to think about a screen on your wedding day.
- Keep the link handy in your phone notes. With the upload link saved, you can text it to anyone who missed a sign, all in one tap.
If you want the complete playbook behind these habits, including wording, placement, and how to nudge quieter guests, our guide on how to collect every photo your wedding guests take goes well beyond the quick setup and into the details that maximise how many photos you get back.
Common Setup Mistakes
- Leaving it to the night before. Five minutes is easy, but the night before a wedding is the worst time to discover your printer is out of ink. Set it up early.
- Putting out only one sign. A single sign on the welcome table gets missed. Place one on every table so the code is always within arm's reach.
- Never testing the upload. Assuming it works is how couples find out on the day that it does not. Always scan and upload one test photo first.
- Forgetting to download afterward. Your gallery never expires, but download all the originals soon anyway, so the full-resolution files are safely yours forever.
- Turning off the slideshow. The live slideshow is what reminds guests to keep sharing. Leaving it running quietly drives far more uploads than you expect.
That really is the whole thing. The setup is short, the tools do the hard part, and the payoff is every candid moment from your day landing in one gallery you keep forever. The best time to spend these five minutes is right now, rather than in the rush before the wedding. Set it up today and it is one more thing you never have to worry about again.
Frequently asked questions
How long does it take to set up wedding photo sharing?
About five minutes. Creating the event, naming it, turning on the slideshow, downloading your QR code, and sending a test upload each take roughly a minute. Printing and placing your signs happen later, in the week before and the morning of the wedding, so the actual setup is genuinely quick.
Do I need to be techy to set it up?
Not at all. If you can order something online, you can set this up. A dedicated service builds the upload page, the gallery, and the QR code for you, so there is nothing to design, host, or code. You just type your event name and download the code.
Do guests need an app?
No. Guests upload straight from their phone browser, with nothing to download and no account to create. They scan the QR code or tap your link, pick their photos, and send them in seconds. Removing the app step is exactly why so many more guests actually share.
Can I set it up the day before the wedding?
You can, since the setup itself only takes five minutes, but it is better not to. Doing it earlier gives you time to print signs calmly and test the upload without pressure. The night before a wedding is the worst moment to find out your printer needs ink.
What do I need to print?
Just one or two signs carrying your QR code and a short line of instruction. A home printer on plain paper is fine, and you can reuse one template for every table. A print shop can make sturdier signs for a welcome area if you want them, but it is optional.
Set up your wedding photo sharing now
Create your event, get your QR code and link, and start collecting photos in minutes. No app for guests.